In this installment of our blog series on Modern SharePoint web parts, we look at two web parts which bring visual interest to your page: the Image web part and the Image Gallery web part.
Image web part

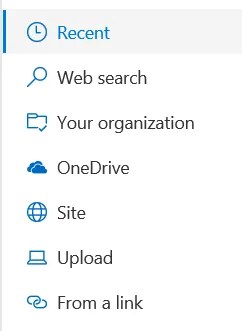
This web part allows you to choose an image from recently uploaded images, a web search, the current SharePoint site or OneDrive, a link to OneDrive for Business or another SharePoint site, or to upload an image from your computer. Or, if your organization has designated an Organization Assets library (a fairly new SharePoint Online feature), you can select an image approved by your organization.
Note that if you upload an image from your computer, a file will be created in Site Assets > Site Pages > YourPageName. So that image file will be available in SharePoint going forward.
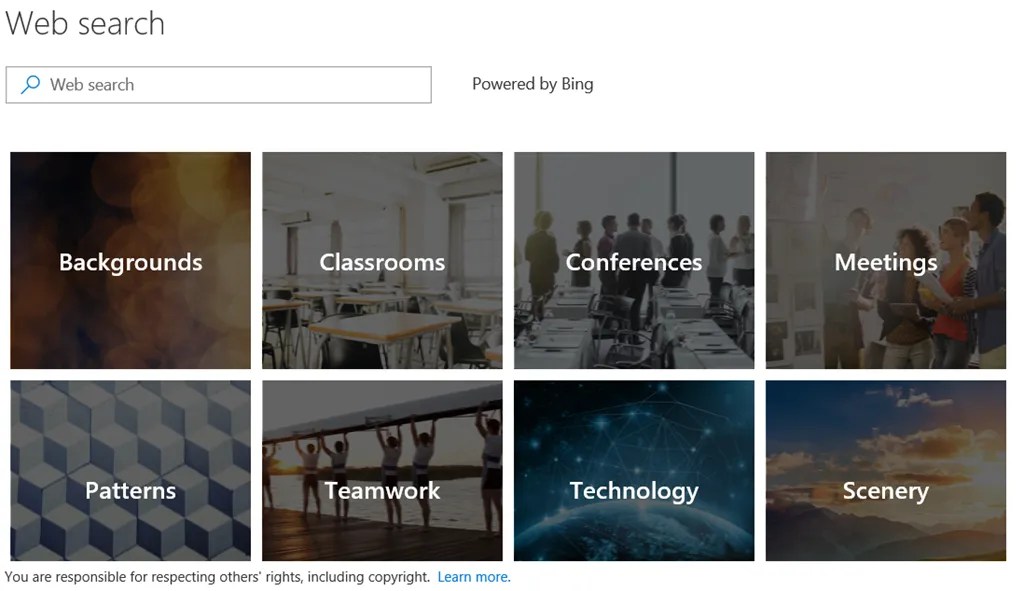
The Web search option is an interesting one, as you can search for images which are free to use under the Creative Commons license. You can begin by selecting a category such as Teamwork or Scenery.
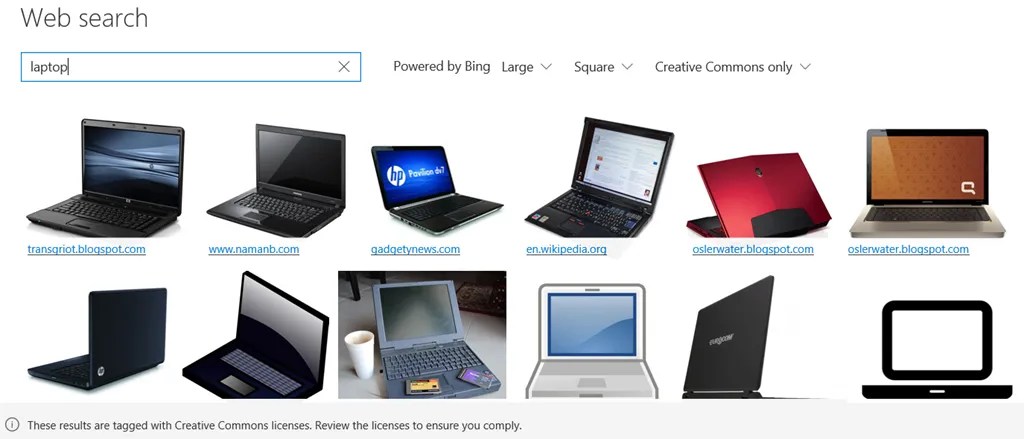
Or you can search for specific things, such as “laptop” or “birthday”. The images can be refined by size (from small to extra large), layout (square, wide, or tall), and whether to only show Creative Commons images (the default). If you choose All Images instead, please make sure you’re not violating any copyrights with the image you choose.
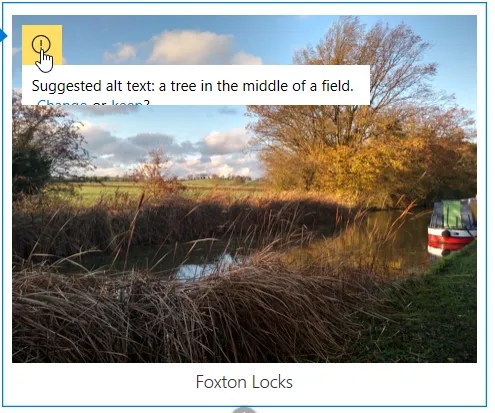
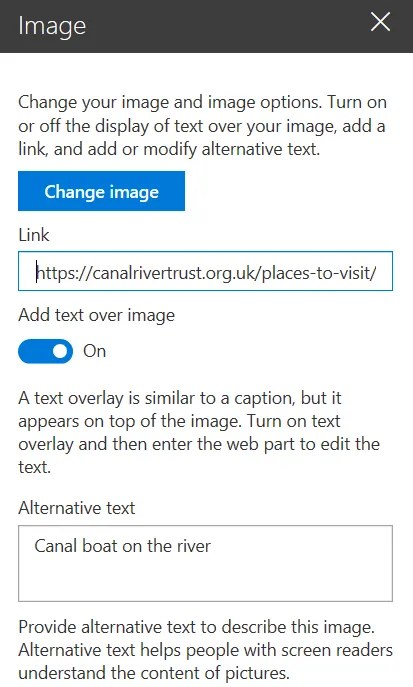
After adding the image, you can click on Add a caption if you wish to do so. SharePoint will suggest Alternative Text, as shown below (for accessibility), or you can enter your own by clicking Edit web part.
Other things you can do within the Image configuration pane are: change the image, add a link to go to when the user clicks on the image, and enable Text over image (which overlays additional text on the image). The Text over image option may be a good idea if you’ve configured a link, as it makes it more obvious that the user can click on the image to go somewhere.
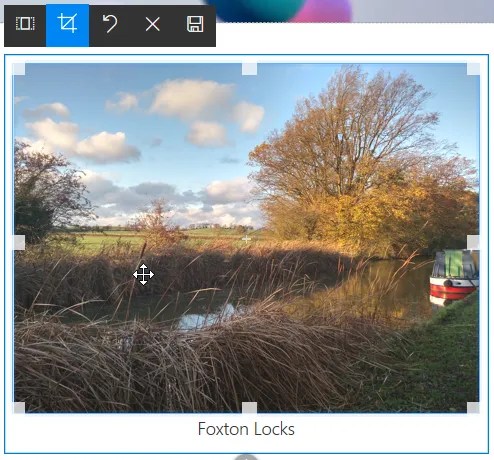
If you click on the image, you’ll get an image editing menu which allows you to crop the image to various aspect ratios (vertical or horizontal), or crop the image freely, which is what the handles do. The size of the image depends on the size of the page section where you have inserted it.
This is a nice way to add a static image to a page, either for general illustration, or to create an attractive navigation element.
Image gallery web part
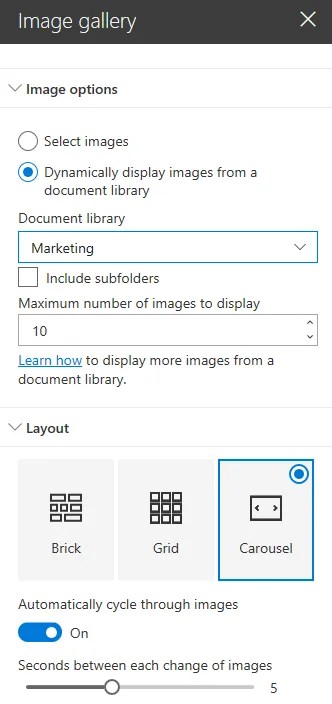
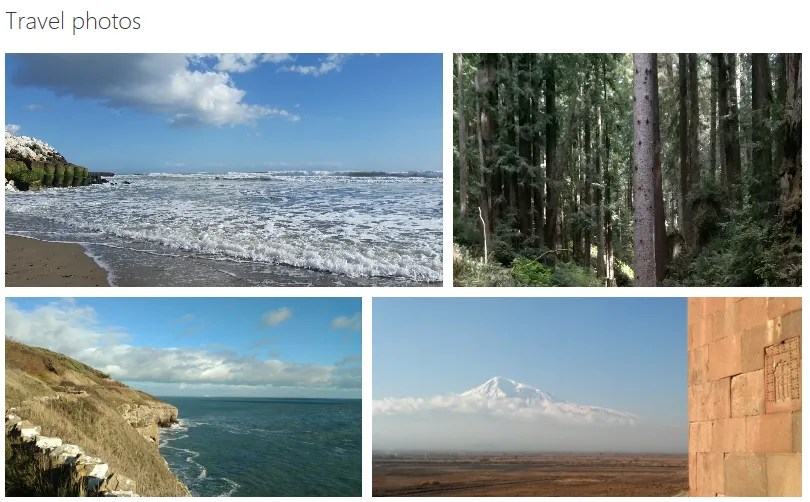
This web part gives you a way to display a collection of images rather than a single image. You can add a title for the collection at the top of the web part. Editing the web part allows you to first choose whether to select images, or to display images from a library within the current site. This second option gives you a more dynamic gallery, as you can easily add or switch out images from that library. Next, you would select the layout (Brick, Grid, or Carousel). When using the Grid layout you can also select the aspect ratio (1:1 square – the default, 16:9 wide, or 4:3 standard). With the Carousel option, you can choose to automatically cycle through images (rather than have the user click), and if so, how many seconds between each image change.
If you chose the Select Images option to add images, you can either browse to select them from the same sources as listed above for the Image web part, or you can drag images directly onto the web part while the page is in Edit mode. After an image is uploaded, click the Edit icon to edit its properties: Title, Caption, and Alternative Text.
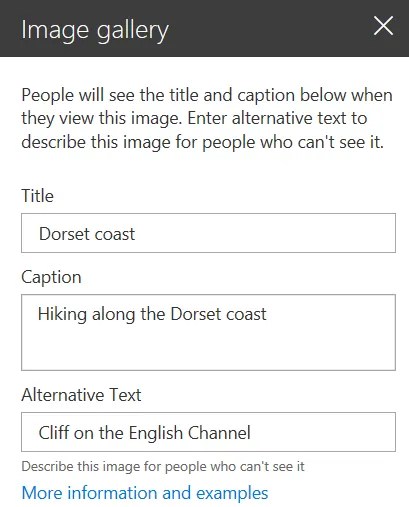
When using the Brick or Grid layout, the Title and Caption will only be visible to the user when they view the full-size image by clicking on it. In the Carousel layout, the Title (only) will appear below the image. You can rearrange the images by dragging them within the web part when you’re in the Grid layout. In the Brick layout, the images appear in reverse order of when you uploaded them, and it’s not possible to re-order them. The Brick option probably makes the most sense when you have images of varying sizes or aspect ratios, as SharePoint will arrange them in a brick-like manner.
When using either of these web parts, you may wish to review this Microsoft article about image sizing and scaling on modern pages. It discusses considerations of section size, aspect ratio, and so on.
By the way, in case you’re interested, the photos in this article are all mine. The one in the Image web part is at Foxton Locks, not far from the Lightning Tools main office in the UK. In the Image gallery web part, there are photos of Santa Cruz (California), Humboldt County redwoods (also California), the Dorset coast of England, and Mount Ararat near the Armenia-Turkey border.
Enjoy adding images to your SharePoint pages!


4 Comments
Hi there, I have SharePoint 2019 installed, and when I look at my options for the Image webpart, I don’t have an option/field where I can add a link, I only have an Alternative Text field. Is the Link option only something available for SharePoint Online?
This feature should also be available in the modern Image web part for SharePoint 2019… That is, it’s not noted as “SharePoint Online only” in the documentation. Perhaps it’s just not quite there yet.
Is there a way to show the most recent image first? I am using an image web part, with brick layout, pulling from a SP library. It would be great if the most recent image showed first, to show the latest updates! Any ideas?
Hi Anni, as far as I know there is not a way to control which images show in what order from a library in the image web part.